
General Settings

General Settings has two tabs: File and Notifications.
Export Destination
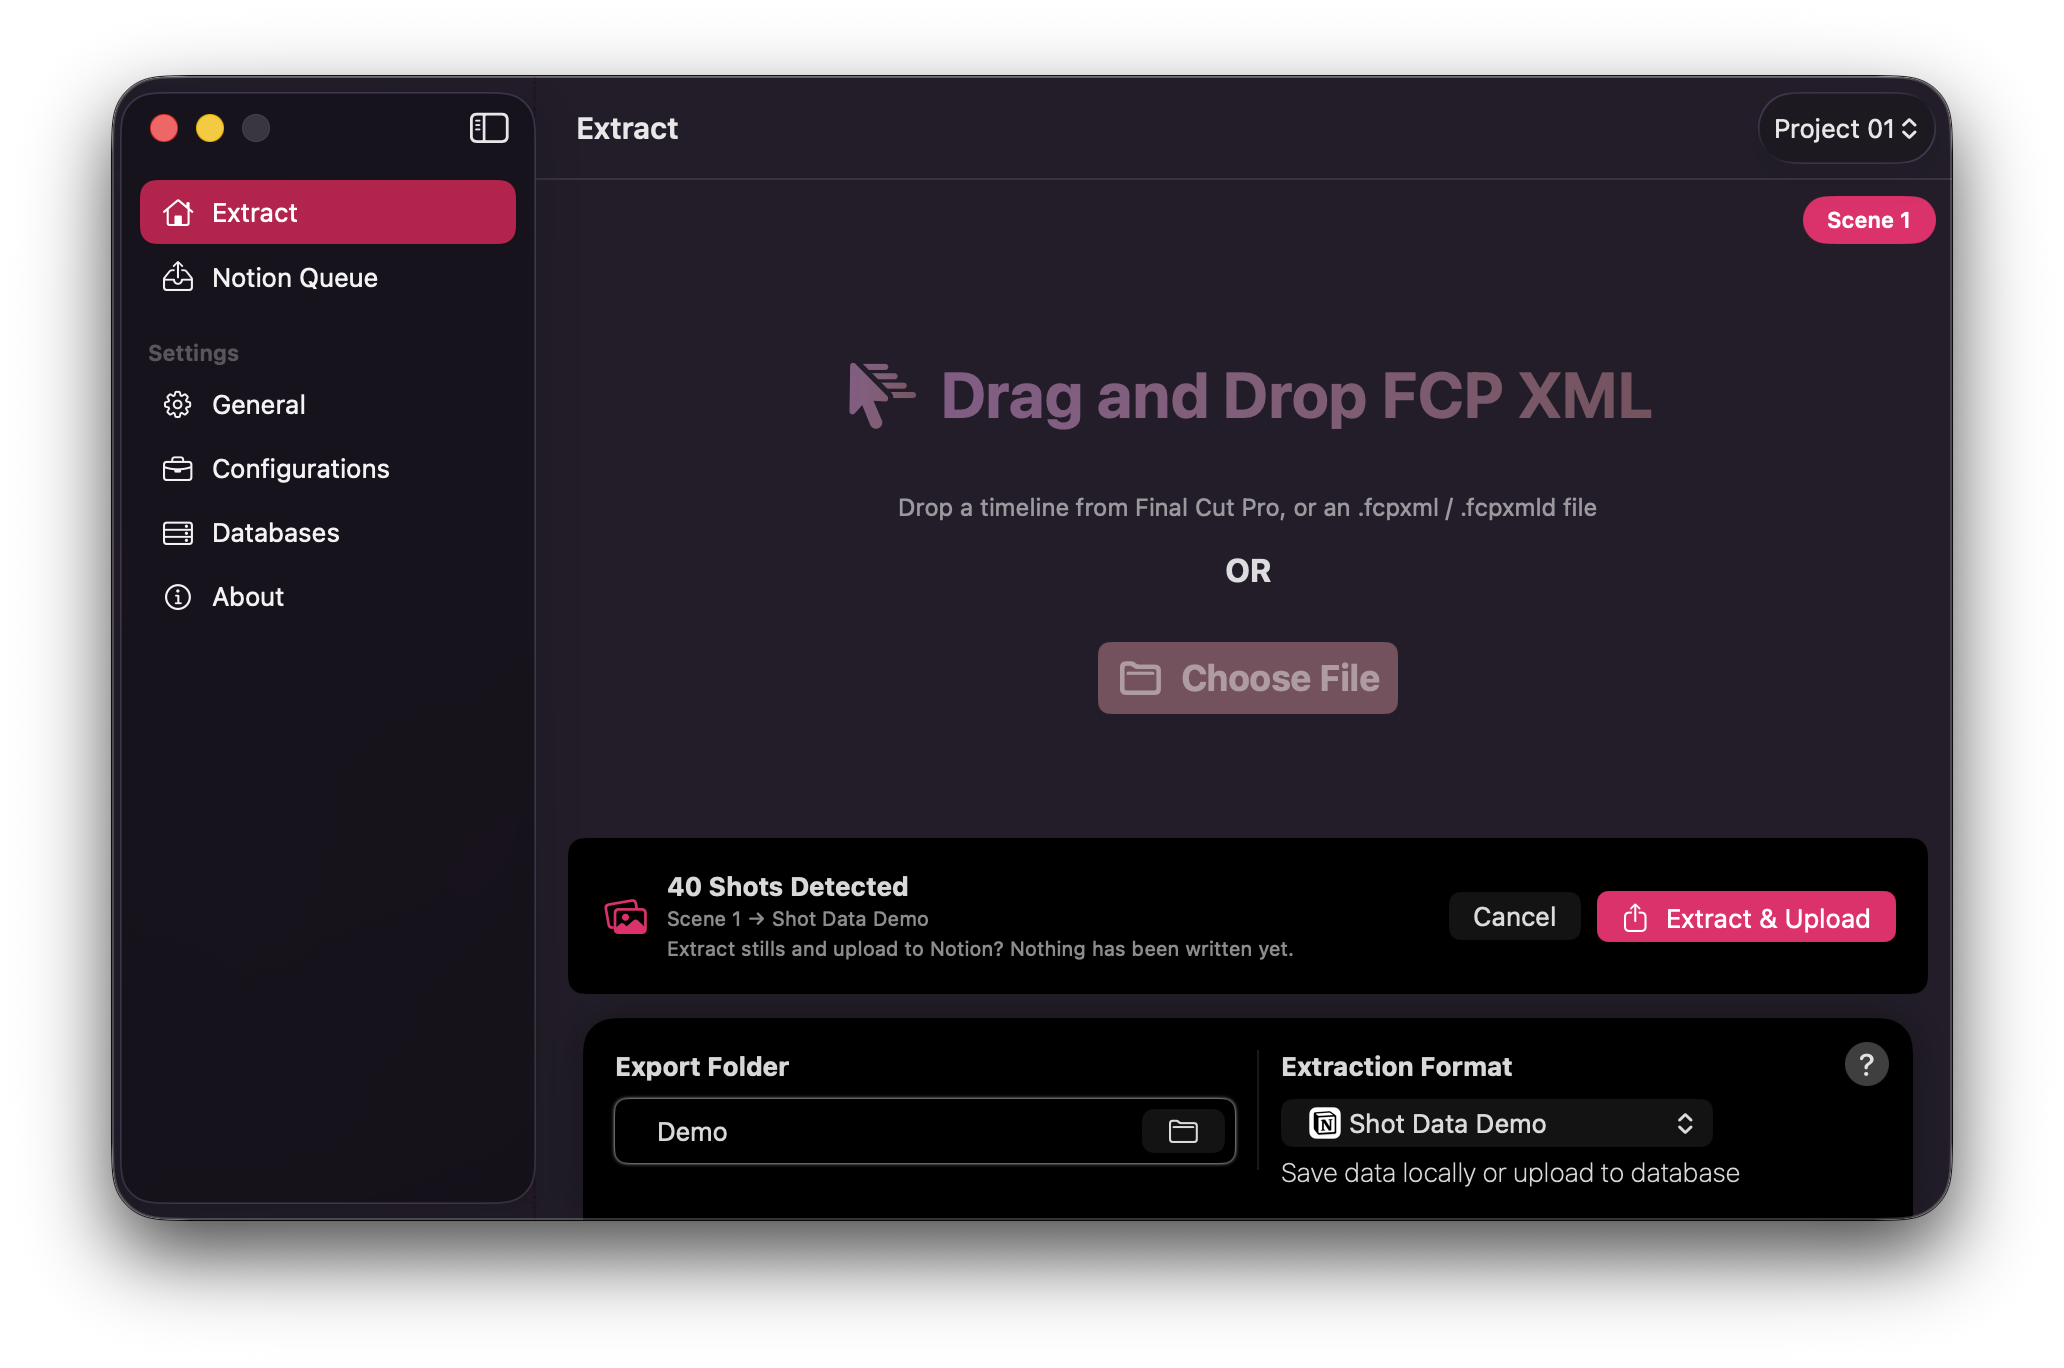
Export Folder
You can select your desired location by clicking on the Folder Icon. Upon right-clicking the folder icon, Shot Data will show the Full Path associated with said folder. You may also choose Clear Path to remove the selection.
If no folder has been chosen, Shot Data will display Please select!. If the saved folder can no longer be found, Missing Folder! will be shown.
Export Folder also appears in the black footer on Extract.
Info
The export folder is remembered with a security-scoped bookmark. Shot Data does not store a plain file path as the source of truth. If the volume is disconnected later, see Missing Folder! under Troubleshooting.
Folder Format
Select your desired Folder Format.
- Short
- Medium Default
- Long
Each extraction is saved within a uniquely named subfolder inside your chosen export destination. The folder name includes timeline details and a timestamp so earlier shot lists are not overwritten.
Info
Folder Format lives under General → File only. It is not shown on the Extract footer.
Extraction Options
Extraction Format
Select your desired Extraction Format.
- Notion (No Upload) Default — writes a local Notion JSON manifest and PNGs
- CSV — writes a local CSV manifest and PNGs
- Database Profiles — extract and upload to a Notion database profile you have created
Extraction Format also appears in the black footer on Extract.
Info
CSV extracts are local only and do not appear in Notion Queue. Notion extracts write an extract_info.json sidecar so you can upload later from the Queue.
Scene Number
Enter the Scene Number used when naming shots. Shot IDs follow the form {Scene Number}-{NNN} — for example 1-001 or 50A-001.
By
Default
, Scene Number is 1.
Info
Scene Number must not be empty. Alphanumeric values are allowed. You can also edit Scene Number from the ruby badge on Extract.
Notion Icon
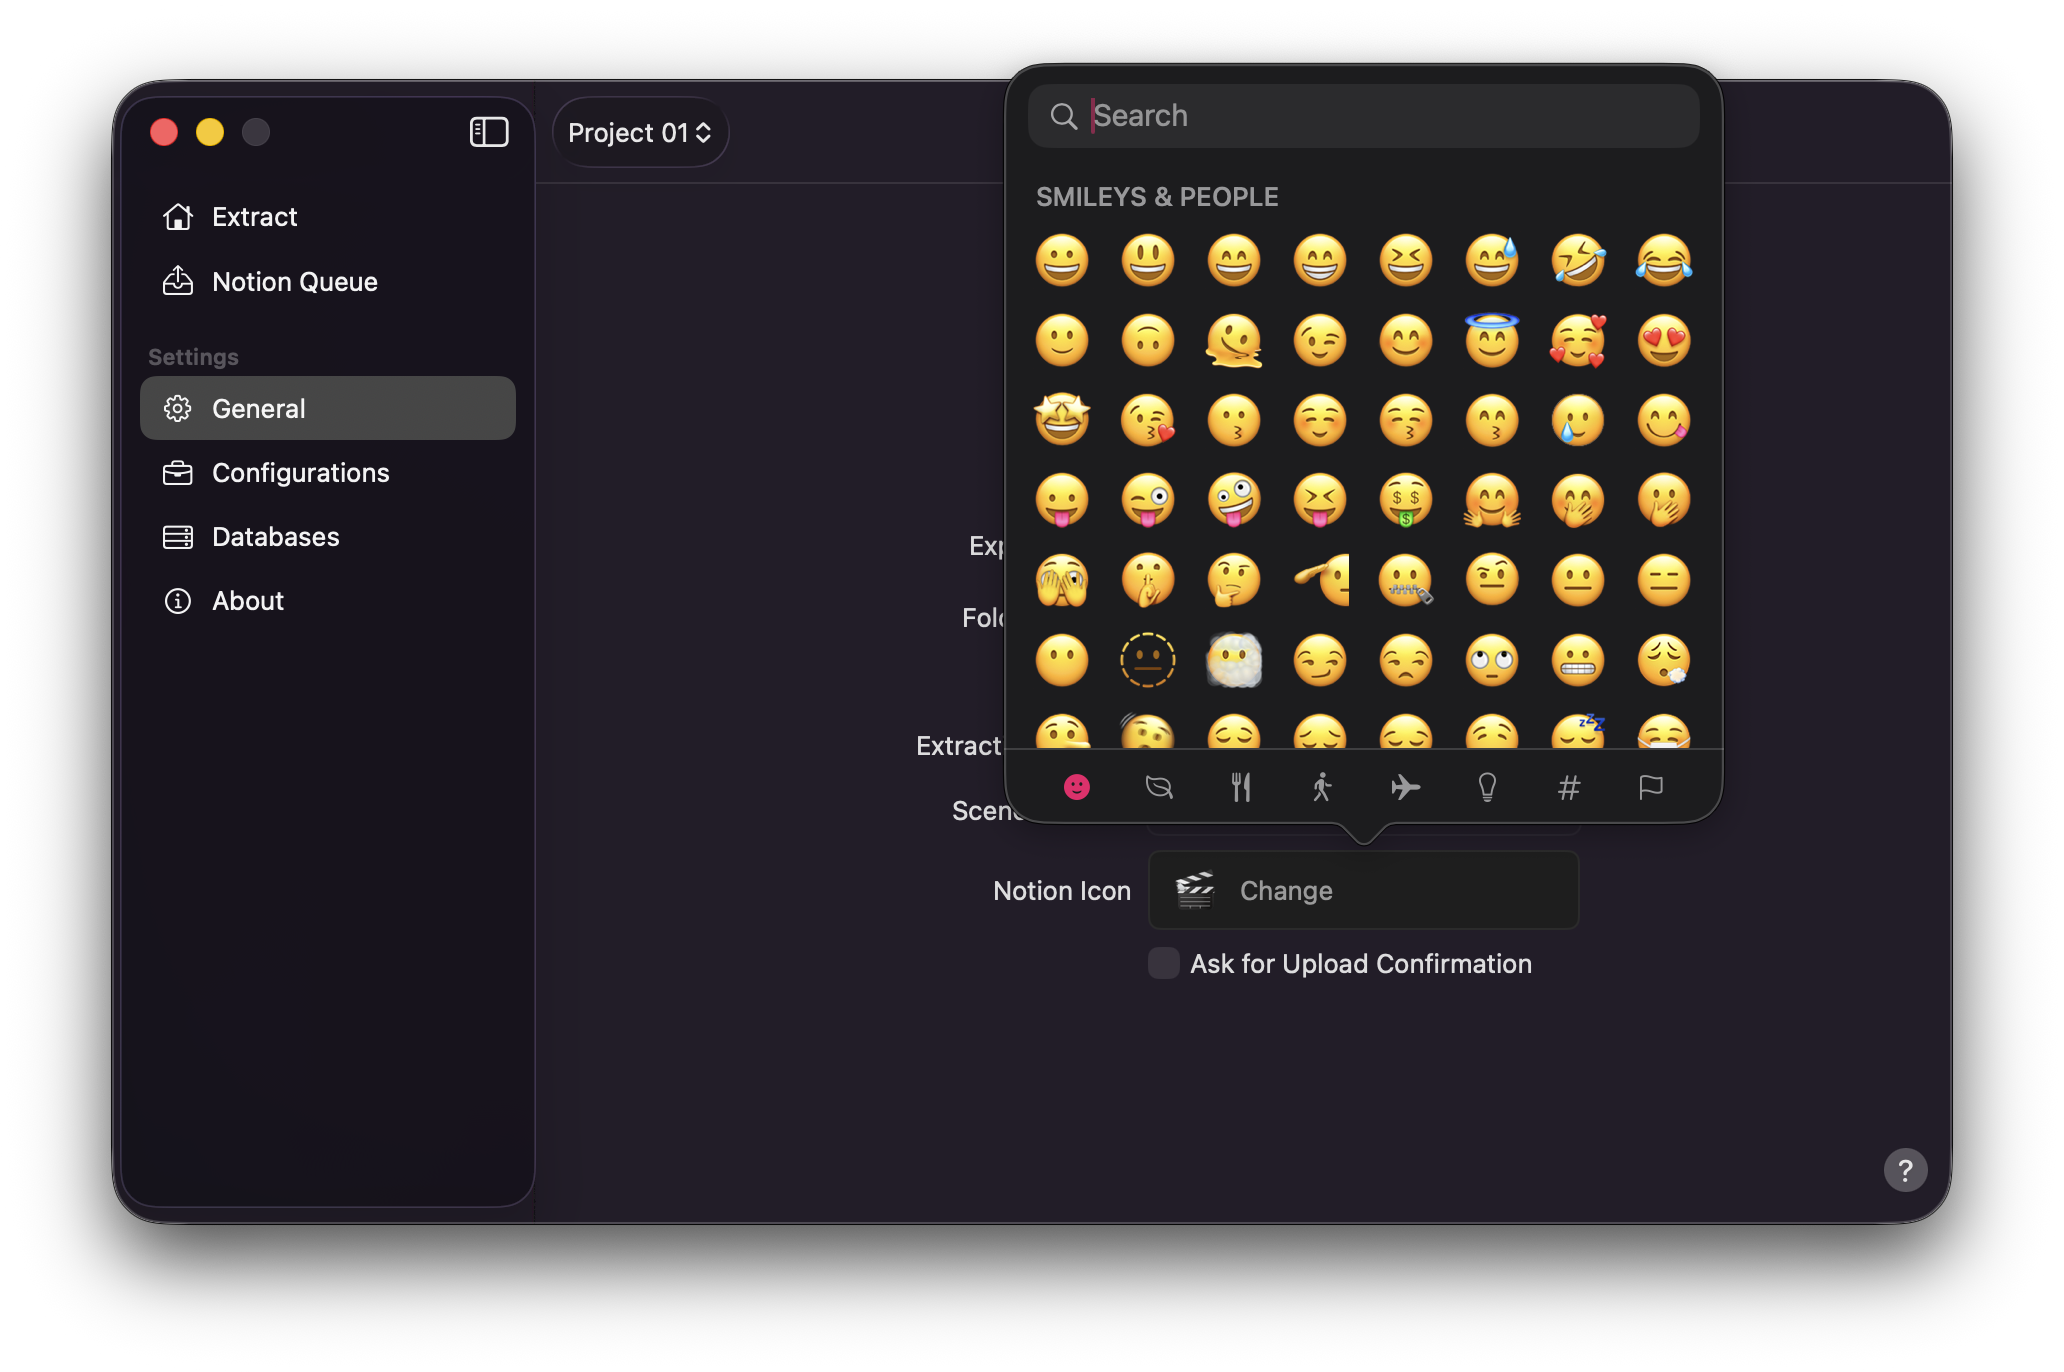
Choose the emoji written into the Notion manifest as Icon Image (used as the Notion page icon on upload).
By
Default
, the icon is 🎬.
Ask for Upload Confirmation
Checking Ask for Upload Confirmation pauses extract-and-upload after planning, so you can confirm before Notion is written.
By Default , confirmation is off. This option only applies when Extraction Format is a database profile that uploads.
Notifications
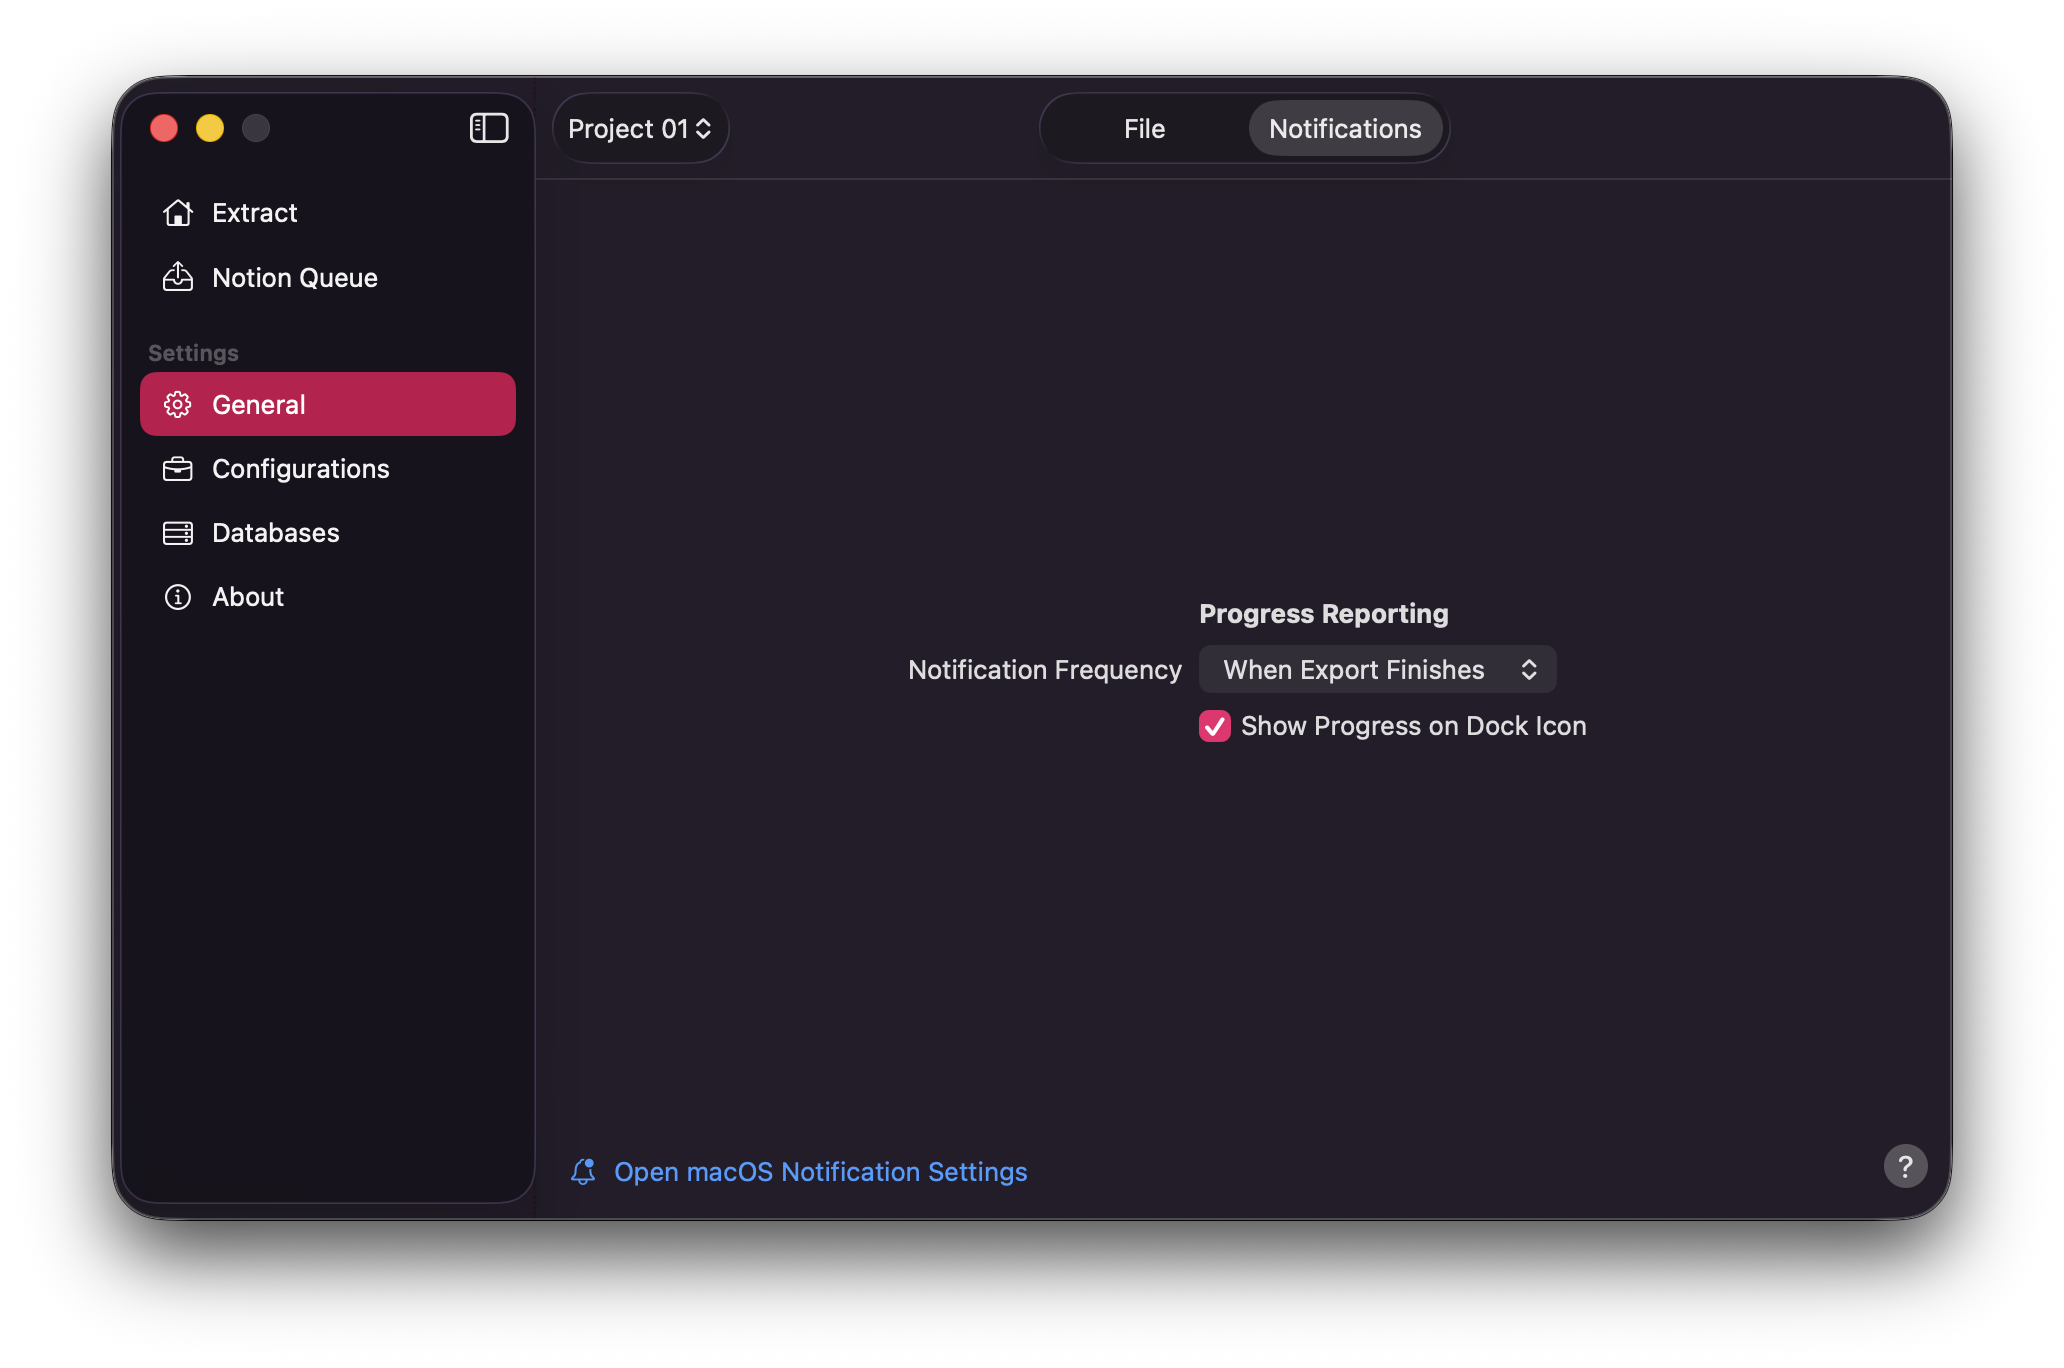
Notification Frequency
Shot Data integrates with the native macOS Notifications framework, delivering alerts while extraction and upload tasks run.
Select your desired Notification Frequency.
- Never
- When Export Finishes Default
- Each Report Step
Info
When Export Finishes notifies you when the run completes. Each Report Step also sends intermediate progress notifications during extraction and upload.
Show Progress on Dock Icon
By Default , a progress indicator is shown on Shot Data's Dock icon while work is in progress.
Open macOS Notification Settings
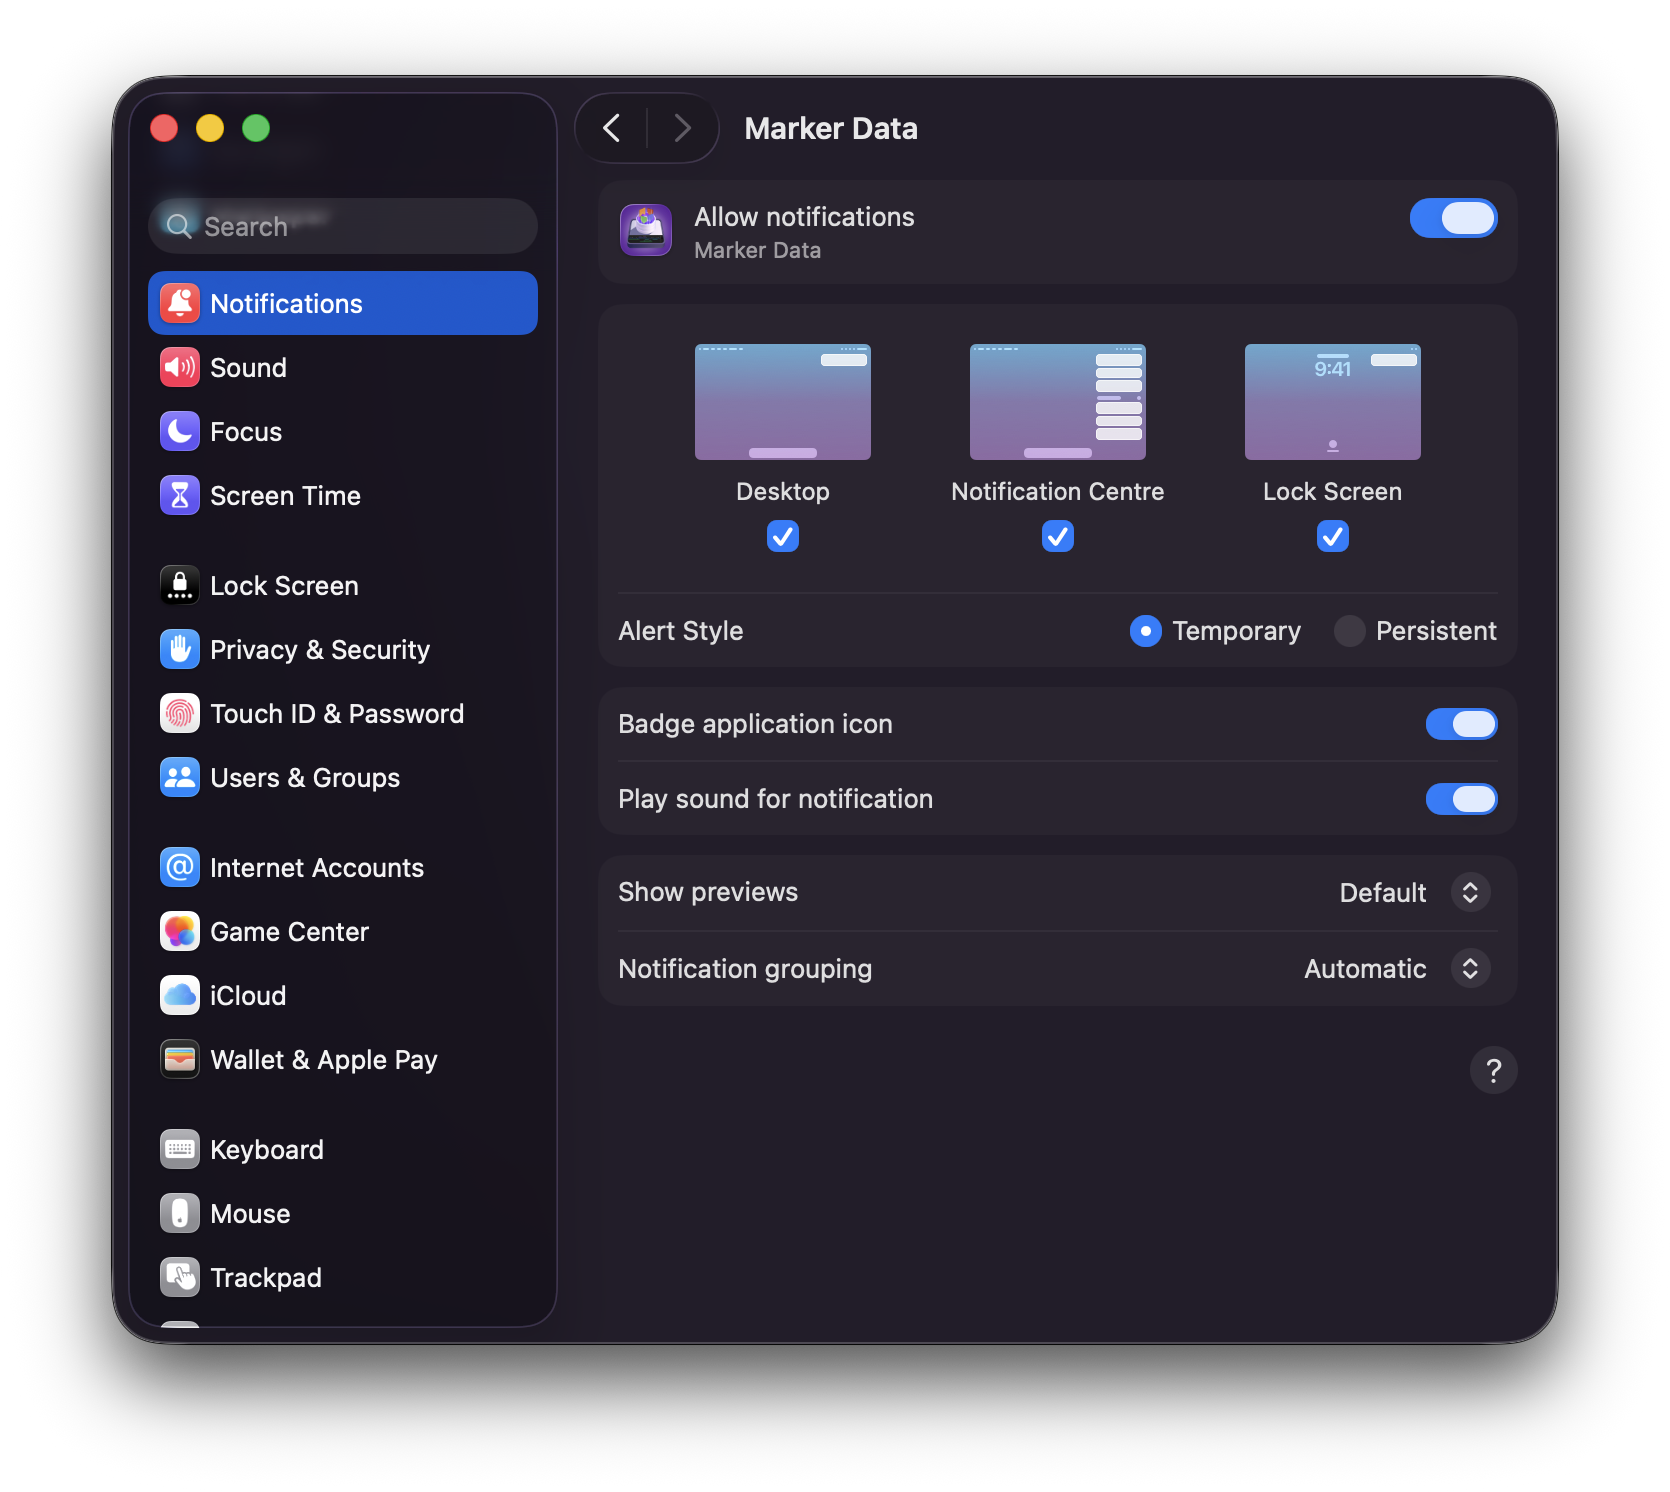
Select the Open macOS Notification Settings link to open macOS Notification Settings. Navigate to Shot Data to manage notification settings.
Info
Shot Data will only appear in macOS Notification Settings after the initial authorisation prompt. If Shot Data is the focused application, banners may be quieter or less obvious — check Notification Centre.