
Notion Queue

Shot Data's Notion Queue lists Notion shot-list extracts that are ready to upload. You can assign a Database Profile to each row, then upload in sequence with Start Upload.
The table columns are:
Info
Only Notion extracts appear in Notion Queue. CSV extracts are local only and are not listed.
Shot Data's Notion Queue accommodates three common scenarios.
Scenario 1 - Extract First, Upload Later
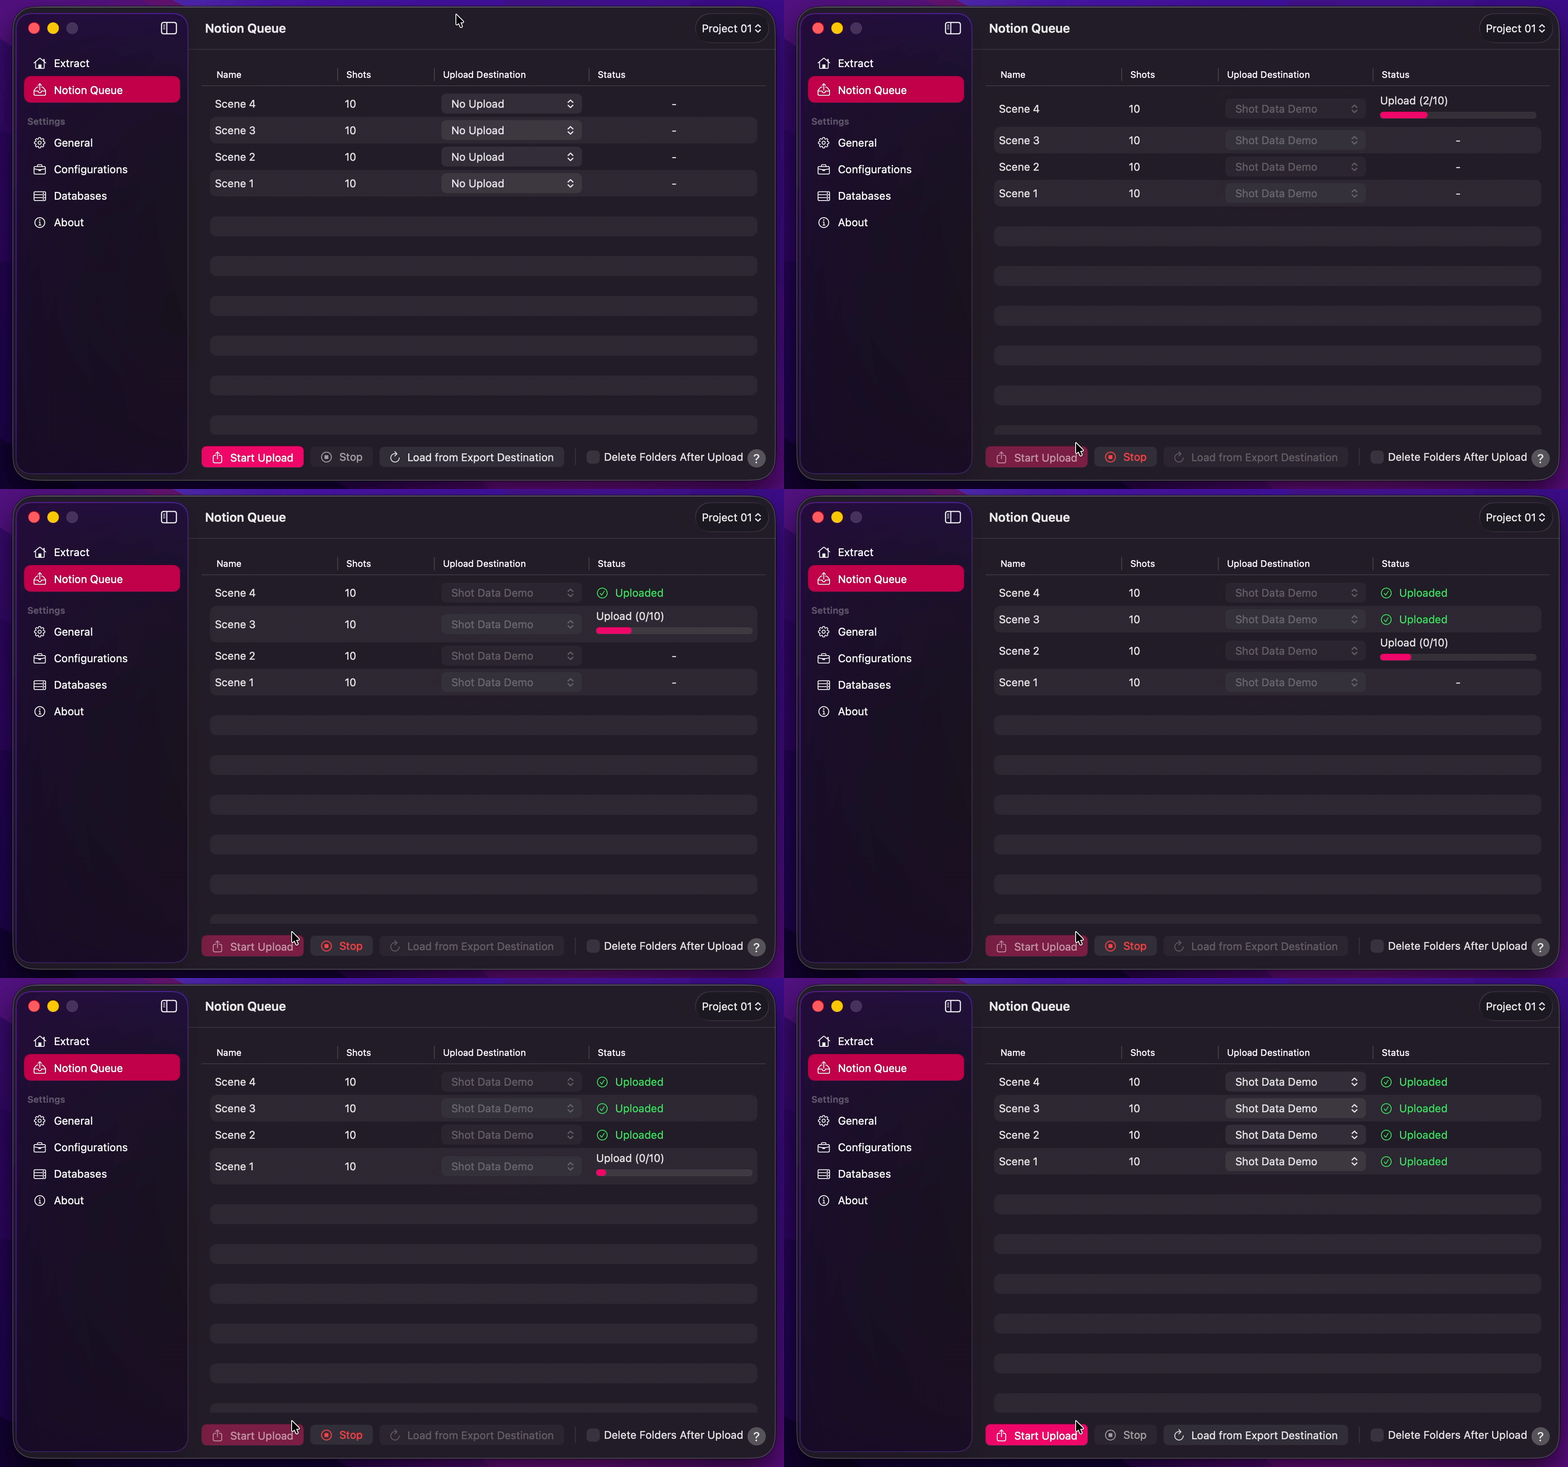
When you need to extract several timelines before uploading, choose Notion (No Upload) under General → File. Each extract is saved to your Export Folder. Notion Queue then lists those shot lists so you can assign destinations and upload when ready.
- Create and set up your desired Database Profiles.
- Under General → File, select
Notion (No Upload). - Extract your timelines on Extract.
- Open Notion Queue. For each row, choose an Upload Destination.
- Press
Start Uploadto begin. PressStopto cancel an upload in progress.
Info
Uploads run one shot list after another. Within each list, Shot Data uploads rows concurrently according to Upload Threads in Databases. Speed depends on your network and Notion.
Info
Your Notion database title (key) column must already be named Shot ID. Shot Data will not create that column for you. See Databases and the Notion Prerequisite.
Scenario 2 - Load Existing Extracts
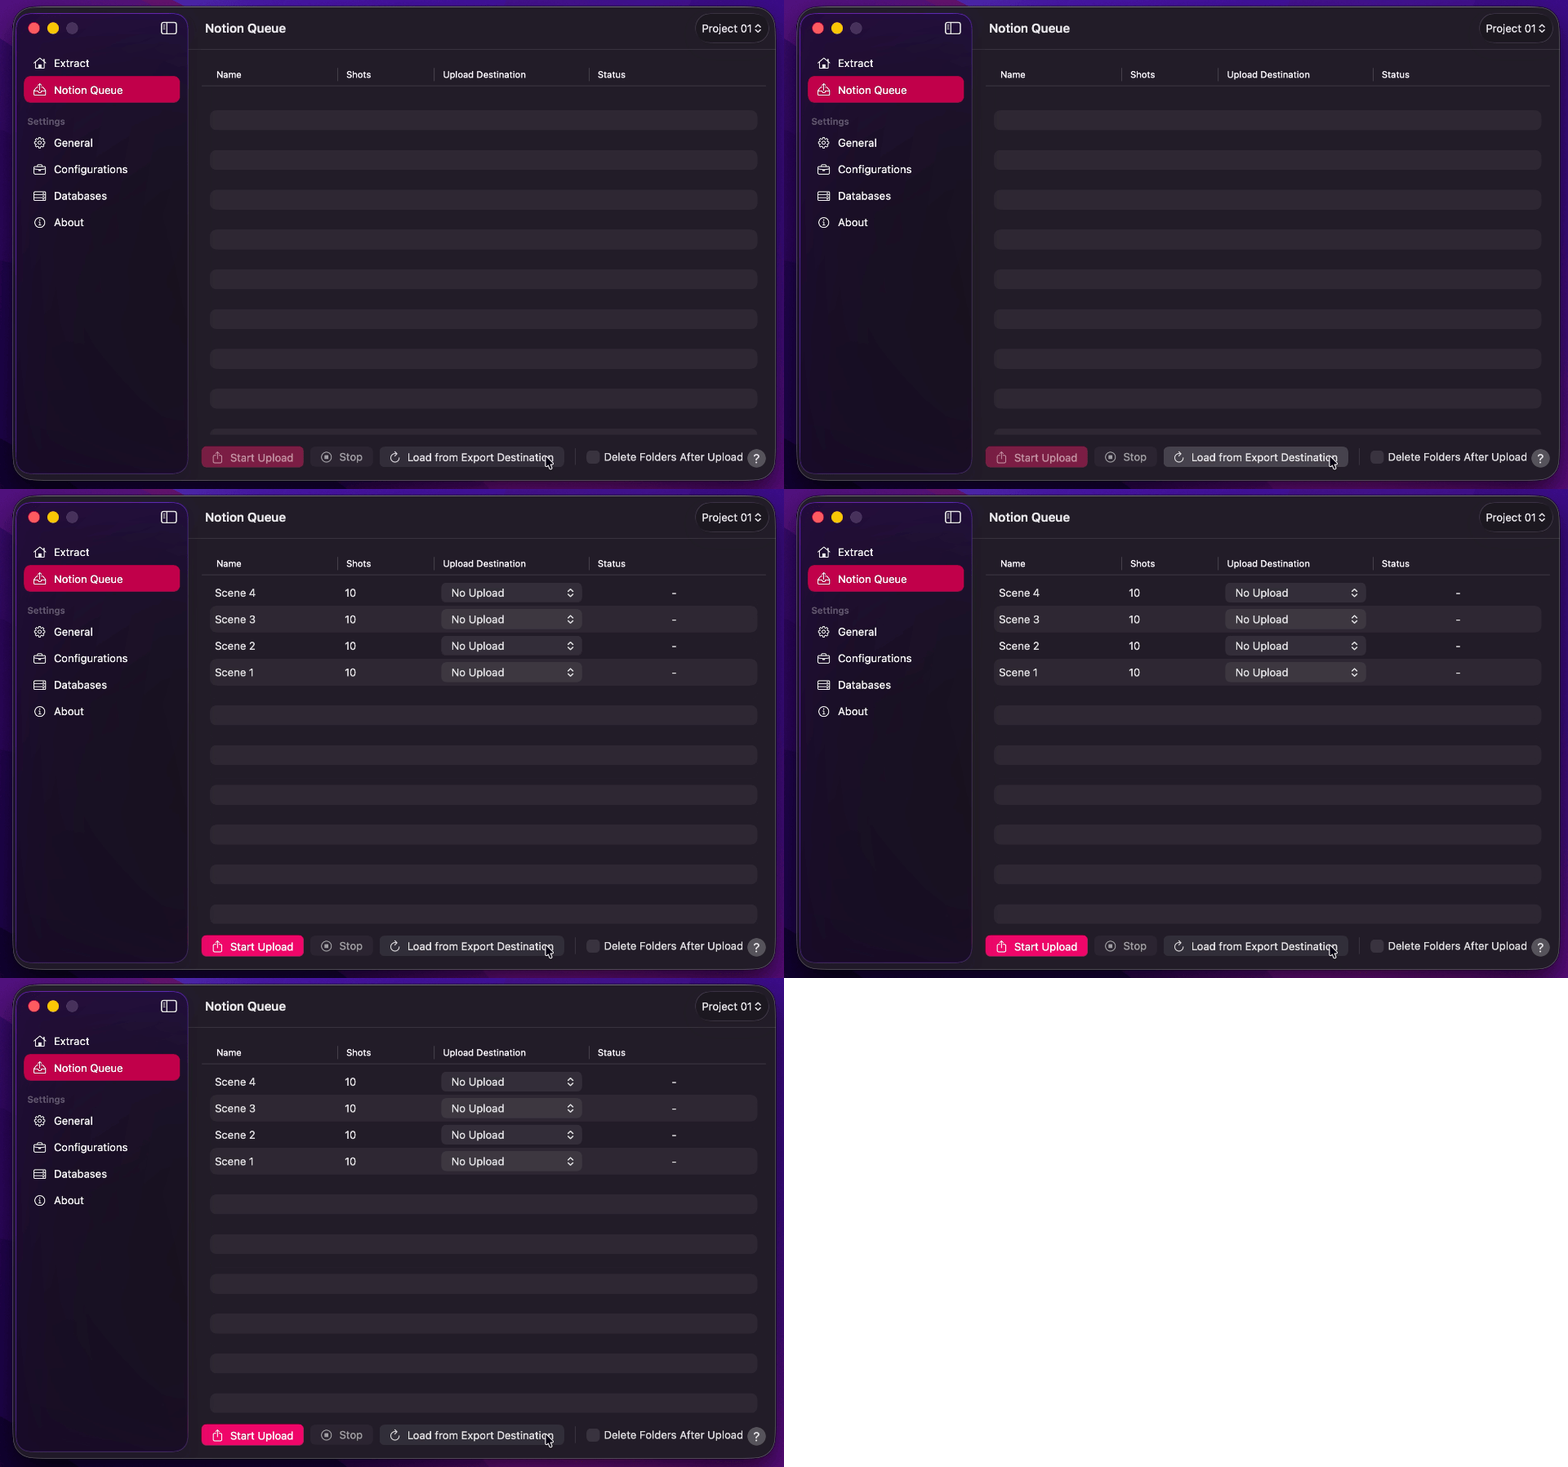
If shot-list folders already exist in an Export Destination — for example after copying them to another Mac — press Load from Export Destination to scan and list them.
- Press
Load from Export Destinationto refresh the list from the current Export Folder. - When
Delete Folders After Uploadis enabled, folders that upload successfully are moved to the Trash.
Scenario 3 - Drag and Drop Folders
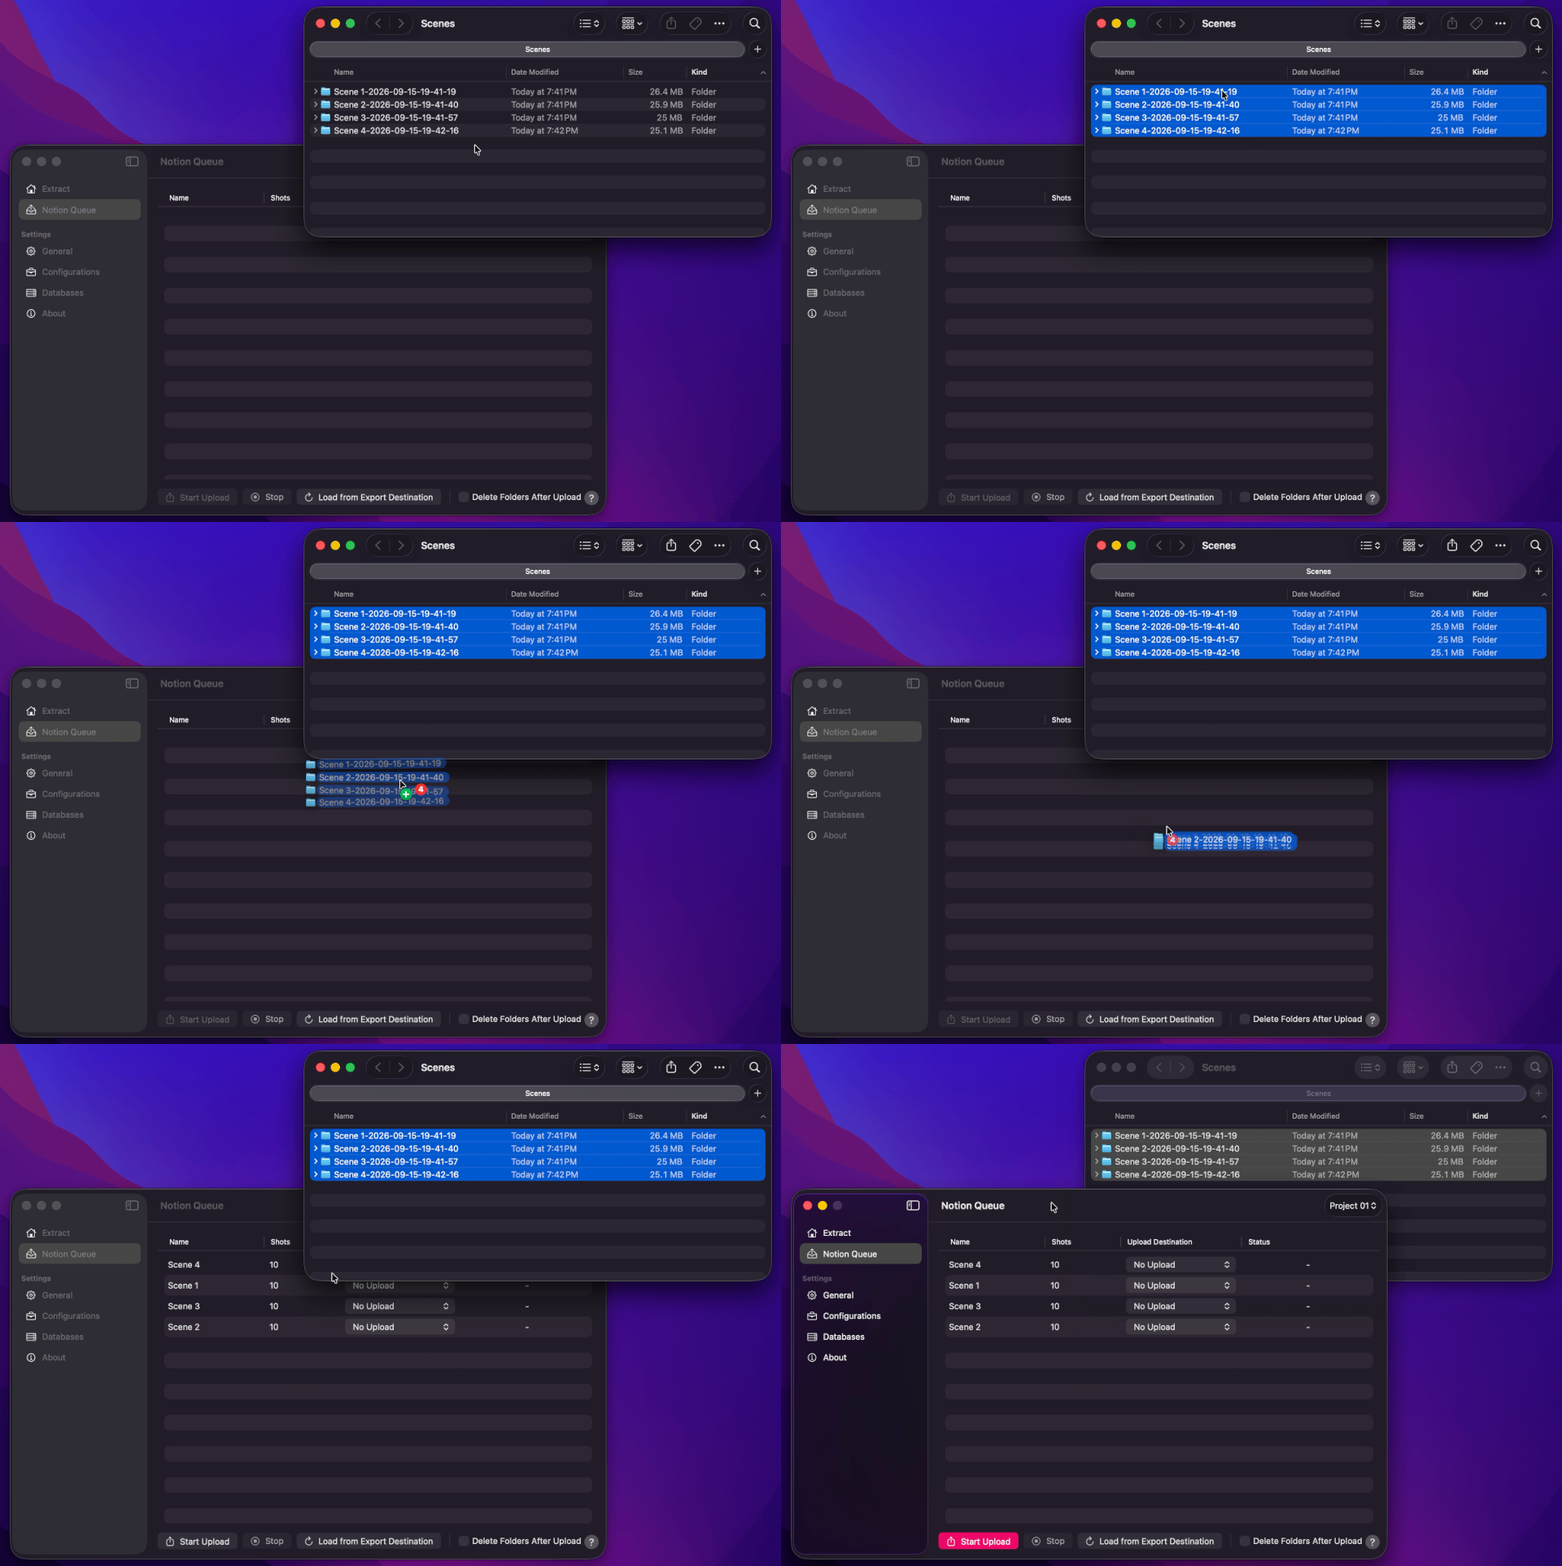
You can drag specific extraction folders onto Notion Queue to list only those shot lists.
Dropping folders clears the current Queue list, then scans the dropped folders.
Info
Right-click the table and choose Clear to empty the Queue list. Shot Data uploads the Notion manifest beside each scanned folder, so a copied or moved shot-list folder still uploads even if the original export path has changed.