
Extract

Shot Data's home panel, Extract, lets you provide a Final Cut Pro still-image timeline and create a shot list: one PNG per shot plus a Notion or CSV manifest. Optionally upload to Notion when your Extraction Format is a database profile.
Following the creation of your Configuration, choose an Export Folder and an Extraction Format in the footer, then provide a timeline to Extract. Set Scene Number and Folder Format under General → File.
Scene Number
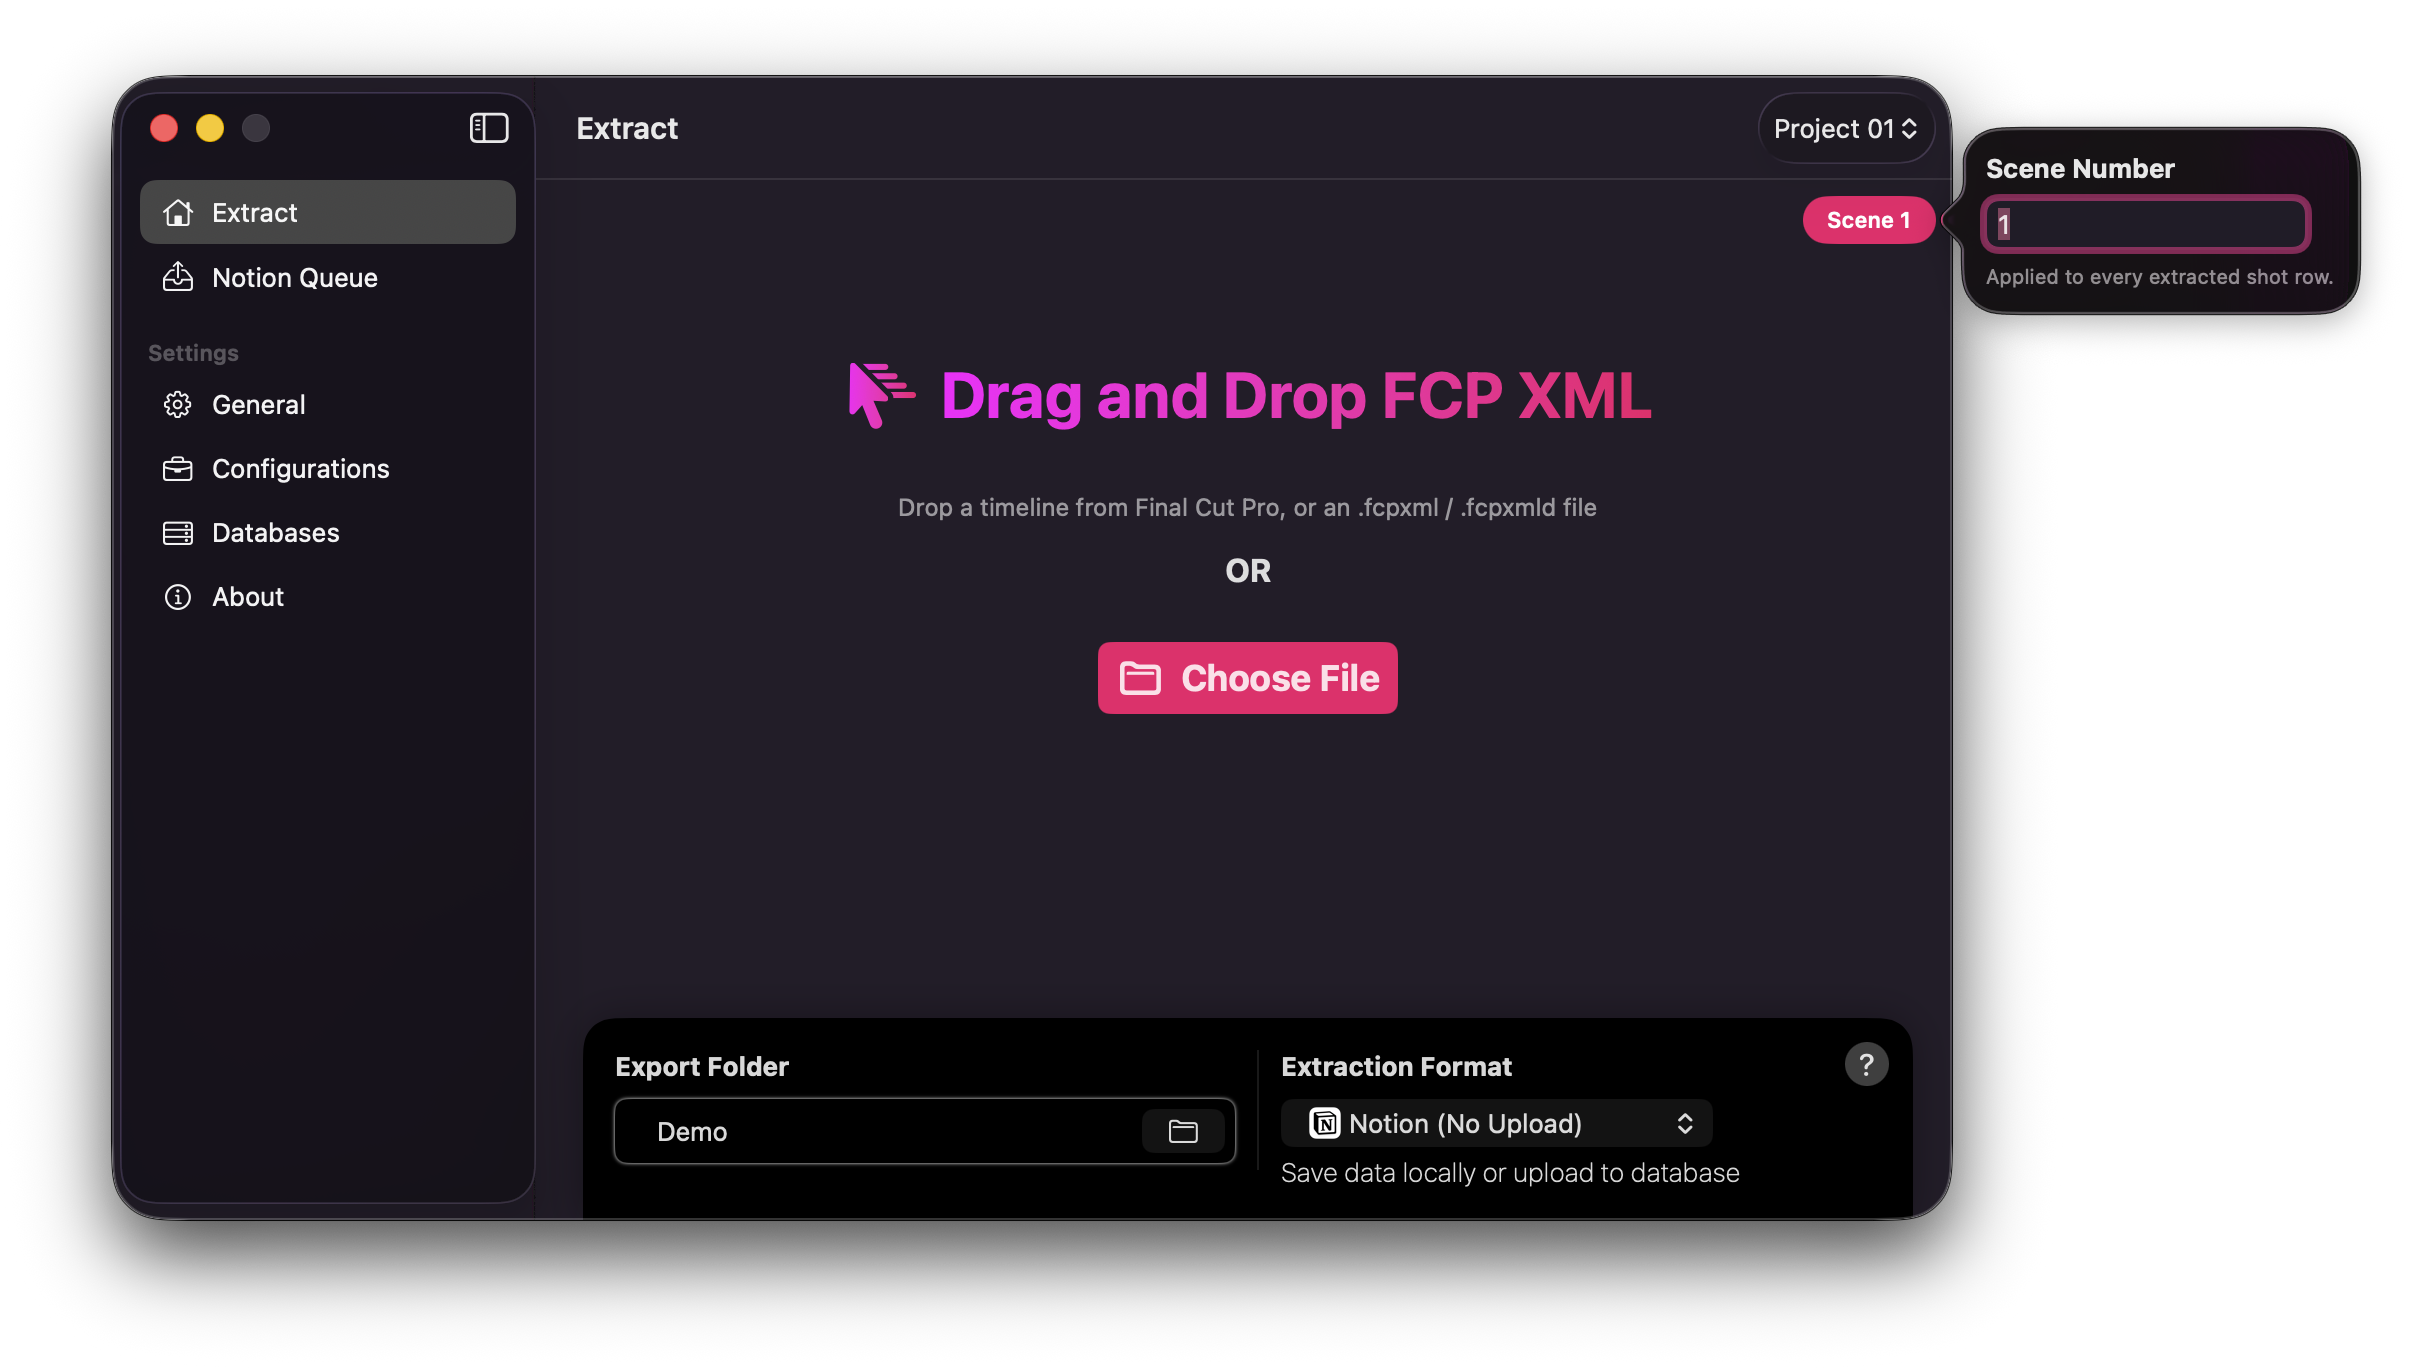
A ruby Scene badge sits in the top-right corner of Extract. Click it to open a quick Scene Number editor without leaving the panel.
The value is the same Scene Number stored under General → File. Shot IDs use the form {Scene Number}-{NNN} — for example 1-001 or 50A-001.
Info
Scene Number must not be empty before extraction begins. Alphanumeric values are allowed.
Drag and Drop
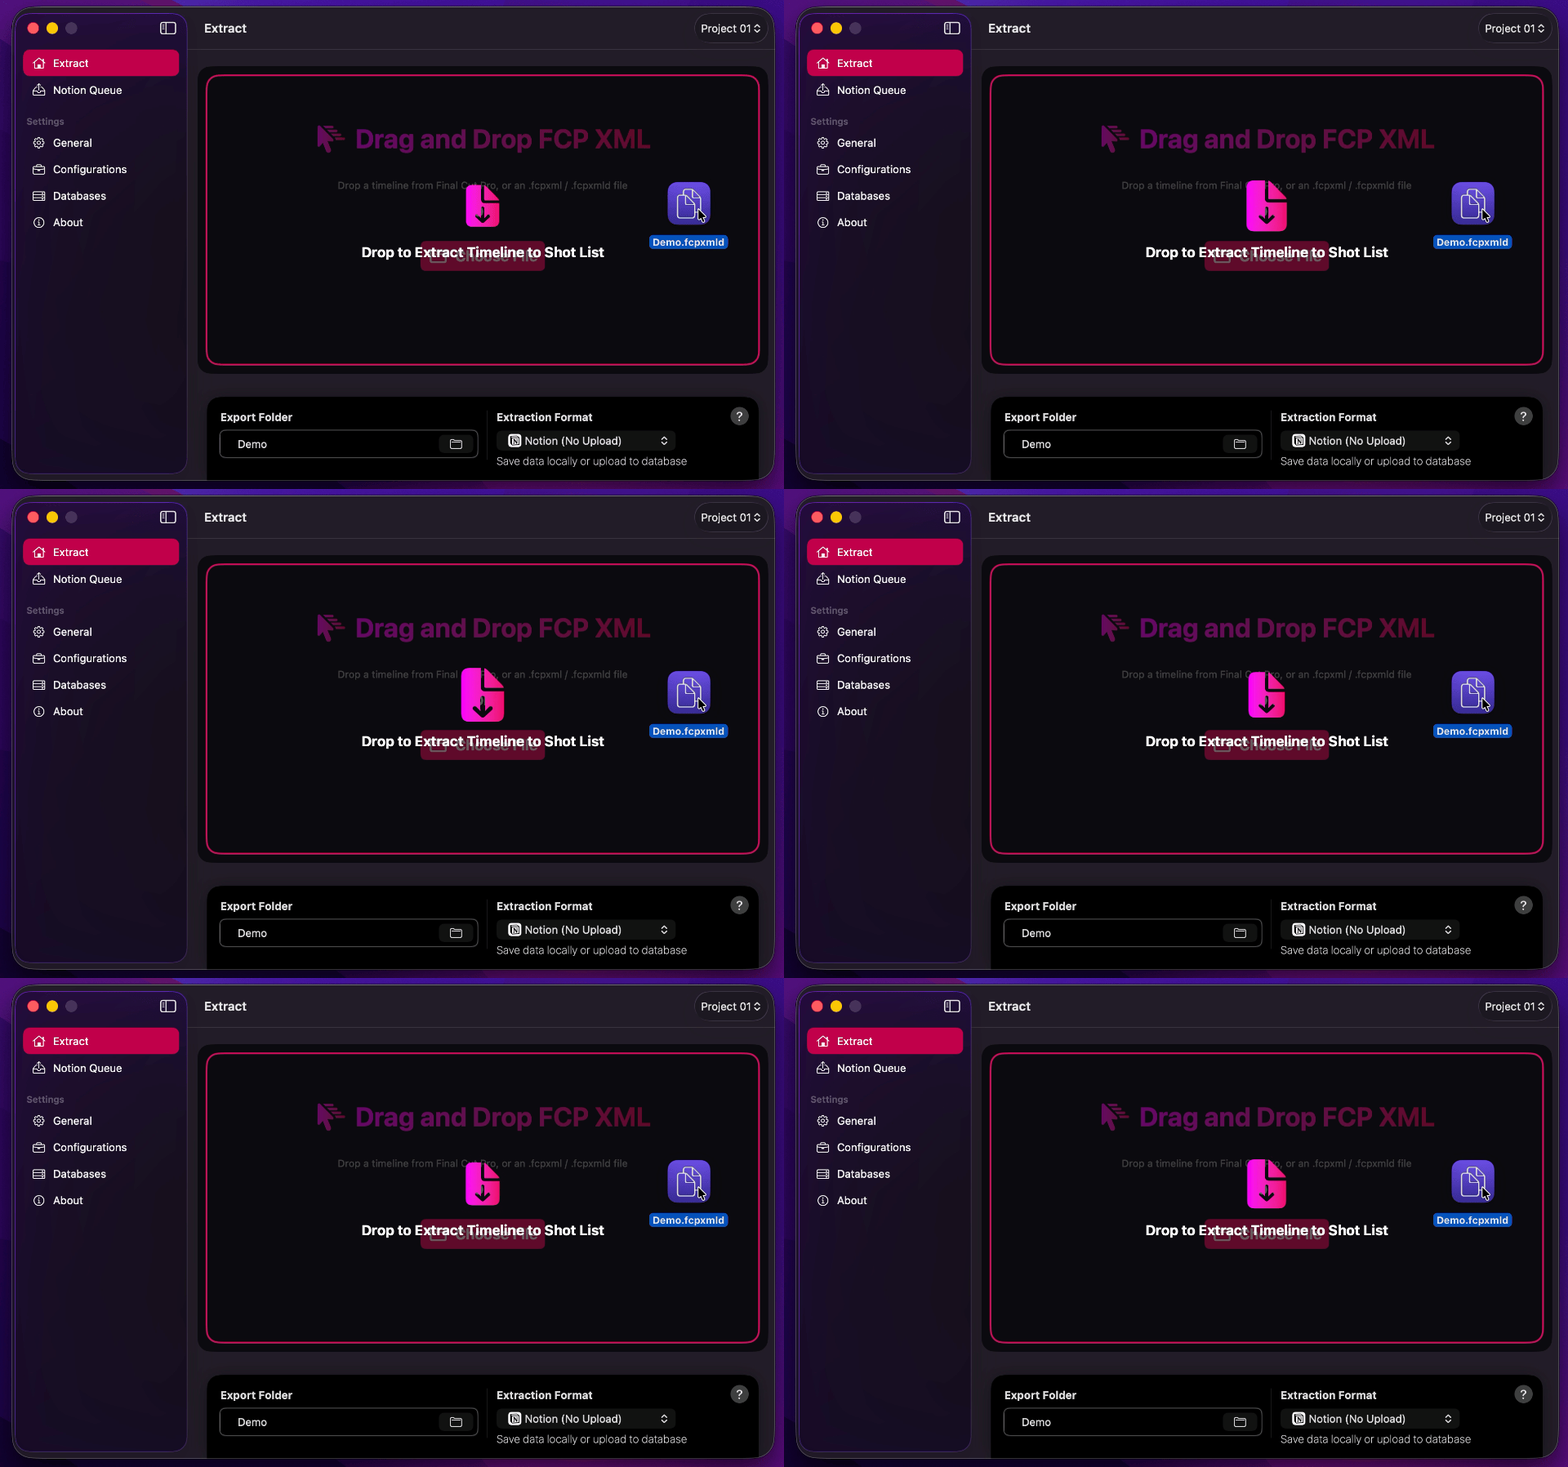
Drag and drop an .fcpxml or .fcpxmld file onto Extract, or drag a timeline / compound clip directly from Final Cut Pro. You may also use a Finder text clipping that contains FCPXML. The drop overlay reads Drop to Extract Timeline to Shot List.
Alternatively, click Choose File or press ⌘ O to select a file.
Extraction begins as soon as a valid timeline is received, provided an Export Folder is set and Scene Number is not empty.
Info
Shot Data processes one FCPXML timeline per action. If multiple items are offered at once, only the first item is used.
Info
Extract is intended for primary-spine still-image timelines. If Shot Data cannot open the source stills, it will ask you to Choose Media Folder before writing PNGs — see
Info
On macOS, dropping an FCPXML onto the Dock icon does not always bring Shot Data to the front. If the window stays in the background, click the app icon to restore it.
Choose Media Folder
After planning shots, Shot Data may show Choose Media Folder if it cannot open the source stills — for example after dragging a timeline from Final Cut Pro (staged in Cache), when stills live on another volume, or when stills sit inside a Final Cut Pro library (.fcpbundle).
The panel message is Original media, a Final Cut Pro library, or an enclosing folder. Select one of those, then press Grant Access.
- The folder that holds your original stills
- The Final Cut Pro library (
.fcpbundle) that contains those stills - A parent folder that contains the library or the stills
If the first choice does not unlock every still, Shot Data offers Choose Another Folder or Cancel Extract. Closing the panel or pressing Cancel Extract stops the extraction cleanly — it is not treated as a hard failure.
Info
The Export Folder bookmark does not automatically cover source media. A media-folder grant is session-only for that extract and is not saved under General. If stills remain unreadable, see Troubleshooting.
Extract and Upload
When Extraction Format is a Database Profile, Shot Data extracts first, then uploads to Notion.
- The extract progress bar runs to completion, then a second bar shows upload progress as
Upload (n/total). - Press
Stopto cancel work in progress. - If
Ask for Upload Confirmationis enabled under General → File, Shot Data pauses after planning and asksExtract stills and upload to Notion?before anything is written. PressExtract & Uploadto continue, orCancelto stop.
Info
CSV and Notion (No Upload) write locally only. Use Notion Queue when you want to extract first and upload later.
Review the Output
When extraction finishes, the progress card shows how many shots were extracted (for example 12 Shots Extracted).
Show in Finderopens the unique export folder containing the PNGs and the Notion or CSV manifest.Open Notion Databaseappears after extract-and-upload when that extract’s Database Profile has a usable Database URL. It opens the database in Notion Desktop, or in your browser if Notion Desktop App is not installed. Option-click to open in your web browser.Show Error Detailsappears if the run failed.Closedismisses the card.
Info
Open Notion Database uses the Database URL from the profile used for that extract. It is not shown for Notion (No Upload) or CSV, and it is not available on Notion Queue.